
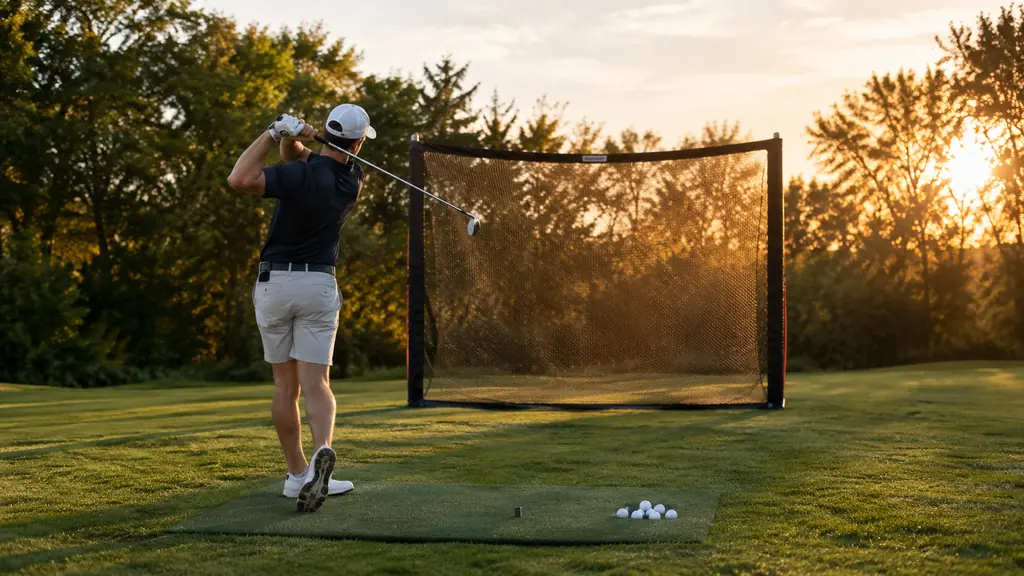
I spent most of my life thinking a backyard driving range was something you needed a big flat property and a lot of money to build. Then I retired from teaching shop, took up golf seriously at 52, and realized I was spending more time driving to the range than actually swinging. The drive was twenty minutes each way on a good day, and by the time I bought a bucket and stretched, I had maybe forty minutes left to hit balls. So I looked into what a simple practice setup would really take. The answer surprised me: a GoSports hitting net, a piece of turf, a bucket of balls, and one afternoon of work. This is how I set mine up, step by step, including the parts I got wrong the first time.
I am not a long hitter and I do not pretend to be one. I am an 18 handicap who plays the same public course twice a week with the same Tuesday group. What I wanted was a place to work on my swing without burning an hour round trip. What I built has held up through two South Carolina summers, and it costs me less than I used to spend on range balls in two months. This guide is not about turning you into a tour pro. It is about getting one honest hour of practice in without leaving home.
Start with the net that makes the whole setup easy
The GoSports hitting net is the piece everything else hangs on. It sets up in minutes, folds flat for storage, and takes a full swing without flinching. Check today's price on Amazon and see which size fits your yard.
Amazon Check Today's Price on Amazon →Step 1: Pick the right spot and measure it
Before you buy anything, walk your yard and find a spot with three things: flat ground, enough depth, and nothing fragile behind the net. I learned the third one the hard way. My first thought was to set up near the side of the house so I could hit in the shade. Then I pictured a shank going through the gap between the net and the fence and took a good look at the kitchen window. I moved the whole plan to the back corner of the yard instead. I also measured from the house to the fence with a tape measure. I had about twenty-five feet, which turned out to be more than enough once the net was up. That measurement took two minutes and saved me from a broken window.
For depth, figure out how far you stand from the net and add room for your follow-through. I hit from about eight feet back, which gives the ball time to slow down before it reaches the net. The GoSports 10 x 7 ft net gives me a target that feels like a real range stall. If your yard is tighter, the 7 x 7 ft version still works, but you will want to use shorter clubs or focus on half swings. I put a strip of tape on the turf to mark my ball position, so I do not have to guess where to stand every time. If you plan to hit driver, give yourself another foot or two of space behind the ball.
One more thing: check the ground. A slight slope is fine, but a spot that collects water after a rain will turn your practice area into a mud pit. I put mine on the highest, flattest part of the back lawn, and I have not had a problem since. I used a level from the garage to confirm the spot was close enough. If your ground slopes, fix it with paver base or leveling sand before you set up the net. Do not try to shim the net to compensate; it will wobble on every swing.
Step 2: Assemble the GoSports net the right way
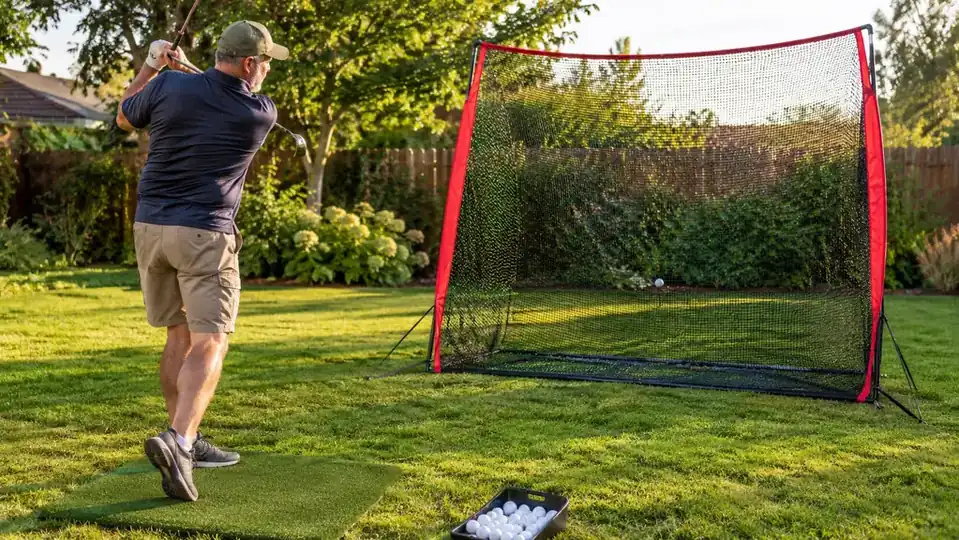
The GoSports hitting net comes with a frame that snaps together and a net that attaches with bungee cords. The frame pieces are numbered, which helps a lot. I laid them out on the grass in order before I tried to connect anything. Skip that step and you will fight the parts. The first time I set it up I rushed and ended up with the net sagging on one side. The trick is to attach the top corners first, then work your way down, and give each bungee a little stretch before you hook it. That keeps the tension even across the whole face.
The frame is sturdy enough that I did not need to stake it down on calm days, but I do use the stakes that come with it when there is any wind in the forecast. A gust caught the net once while I was inside getting water, and it tipped over. It did not break anything, but it reminded me that ten minutes of setup is cheaper than a bent frame. The frame flexes a little on a hard swing, which is normal. That flex is what keeps the net from tearing. You want the net to move a few inches, not stand rigid.
If you are setting it up on grass, the stakes push in easily. On a patio or deck, you can use sandbags or weight the base with something heavy. I keep mine on the lawn, so the stakes have been enough. The whole thing takes about ten minutes the first time and five minutes after you have done it once. When I take it down for a storm, I fold the frame flat and lean it in the garage next to my bag.
Step 3: Build a simple hitting surface
You do not need a fancy hitting mat to start. I used a cheap strip of artificial turf for the first month and it worked fine. The first mat I tried was a piece of indoor-outdoor carpet from the big box store. It was too slick, and the ball sat too low. I swapped to a rubber-backed turf mat that is about three feet by five feet, and that has been the sweet spot. What matters is that the surface is level and gives you a consistent lie. If your feet are higher than the ball or lower than the ball, you will develop bad habits without realizing it.
I eventually upgraded to a small hitting mat with a rubber base, but the turf strip is still what I recommend to anyone starting out. Lay it down, stand on it, and make sure your weight does not shift the mat when you swing. If it slides, put a rubber mat underneath or use a couple of stakes at the front edge. The GoSports net folds flat, but the mat can stay out full time. I leave mine on the ground and only pick it up when I mow.
A word about balls: do not use your good game balls for practice. I keep a bucket of used balls that I picked up cheap, and I rotate them out when they start to crack. The net catches everything, so you will not lose many, but you will wear out the ones you hit. I use my 7-iron for most of my practice sessions because it is the club I trust least. That way I get the most reps where I need them.
Step 4: Add a target and alignment aids
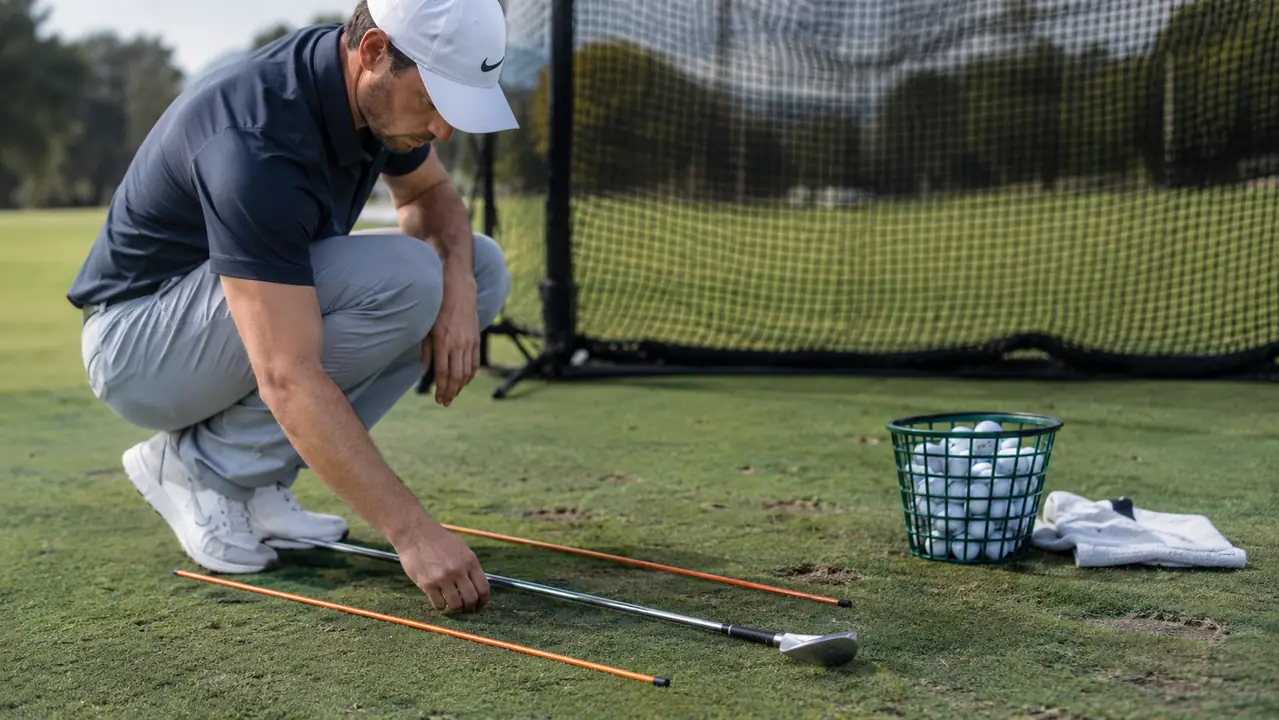
Hitting into a blank net gets boring fast, and boredom is the enemy of practice. I hung a small target square from the middle of the net with a couple of clips, and suddenly I had something to aim at. You can buy a target or make one from a piece of fabric. The point is to give yourself a visual reference for where the ball is going. I made mine out of an old tarp and two binder clips. It hangs at the height of my 7-iron, which is about knee high when the ball is on the turf.
Alignment sticks are the other cheap tool that made a real difference. I lay two of them on the ground, one pointing at the target and one parallel to my feet, and I check my setup before every swing. It sounds simple, but it is the same thing I see the pros doing on the range, and it works just as well in the backyard. I bought a pair of driveway markers at the hardware store and trimmed them to about four feet long. They have been through two seasons of sun and rain and still work.
If you want to know where the ball is going without chasing it, put a piece of chalk or a line of string on the ground in front of the net. The ball will leave a mark on the net where it hits, and you can see your pattern after ten swings. That feedback is worth more than any gadget. I also keep a small notepad on the garage shelf and write down what I worked on each session. It helps me see progress instead of just guessing.
Step 5: Make it a habit, not a project
The biggest mistake I made was treating the setup like a one-time project. I built the range, used it twice, and let it sit for a month. What changed everything was leaving the net up and making it easy to use. I keep the turf down, the balls in a bucket next to the net, and my clubs leaning against the garage door. When it takes thirty seconds to start practicing, I actually do it. I also told Karen I was going to go out for fifteen minutes on Wednesday and Saturday mornings after breakfast. Putting it on the calendar made it real.
I also learned to set a time limit. I go out for fifteen or twenty minutes, hit thirty or forty balls, and stop while I am still focused. Short sessions every other day have done more for my swing than long sessions once a week ever did. The net is always ready, so I do not waste time on setup. I just walk out, stretch for two minutes, and take the first swing.
If you have to take the net down after every use, find a spot where it can stay up. A GoSports net folds down small enough to store in a garage, but the friction of setting it up and taking it down is what kills most backyard ranges. Make it easy and you will use it. I learned that the hard way, and now I only break down the net when a storm is coming.
What Else Helps
A few extras made my setup better without costing much. A small putting mat gives me something to do when I do not feel like hitting full shots. A shag bag or a simple bucket keeps balls from rolling all over the yard. And a towel draped over the net frame gives me a place to wipe down clubs between swings. None of these are necessary, but they all make the range feel like a real practice space. The towel is maybe the most used item I added, because sweat and dew are both real problems in the South.
The one thing I would not skip is a good pair of shoes. Practicing on grass in the morning means wet feet if you are not careful, and wet feet ruin a good session faster than anything. I wear the same pair I wear on the course, and I keep them by the back door. I also put a small rug just inside the door so I can wipe them before I walk through the kitchen.
The net catches everything, so you will not lose many balls, but you will wear out the ones you hit. That is the tradeoff, and it is a good one.
Set up your backyard range this weekend
The GoSports hitting net is the fastest way to turn an unused corner of your yard into a place to practice. It sets up in minutes, holds up to full swings, and folds away when you need the space. Check today's price on Amazon and get started.
Amazon Check Today's Price on Amazon →